Wednesday, March 20, 2013

Don't Get Jittery On Me--Part 3, or "I'm Getting Jittery On Me"

Literally. Jittery. And to prove it, here are my jittery girls. Look closely and you'll perceive movement within the image. You're getting that because I made an assemblage by layering together a photo and a reverse acetate printout of the photo. The layers are held together by fasteners at the corners to allow movement in between...that cool wavy effect, what I call "the jitter." That text snip at the bottom? It seems to me than an upside of the jitters is a profound ability to keep oneself company. I like to accentuate the positve.


If you've been following along, you know that I'm cannibalizing an old bust of an altered book to feed this new one. This assemblage is from that book. It has meaning for me, and so I have saved it. But now...where to put it? There is much to be said for preparation, and it just so happens that when I prepped my book I created a trifold. This is a perfect spot for my jittery girls. It will keep them from leaping out of the book on impulse. I snuggle them right in there.


And then I close the door.  Preparation, preparation, preparation.


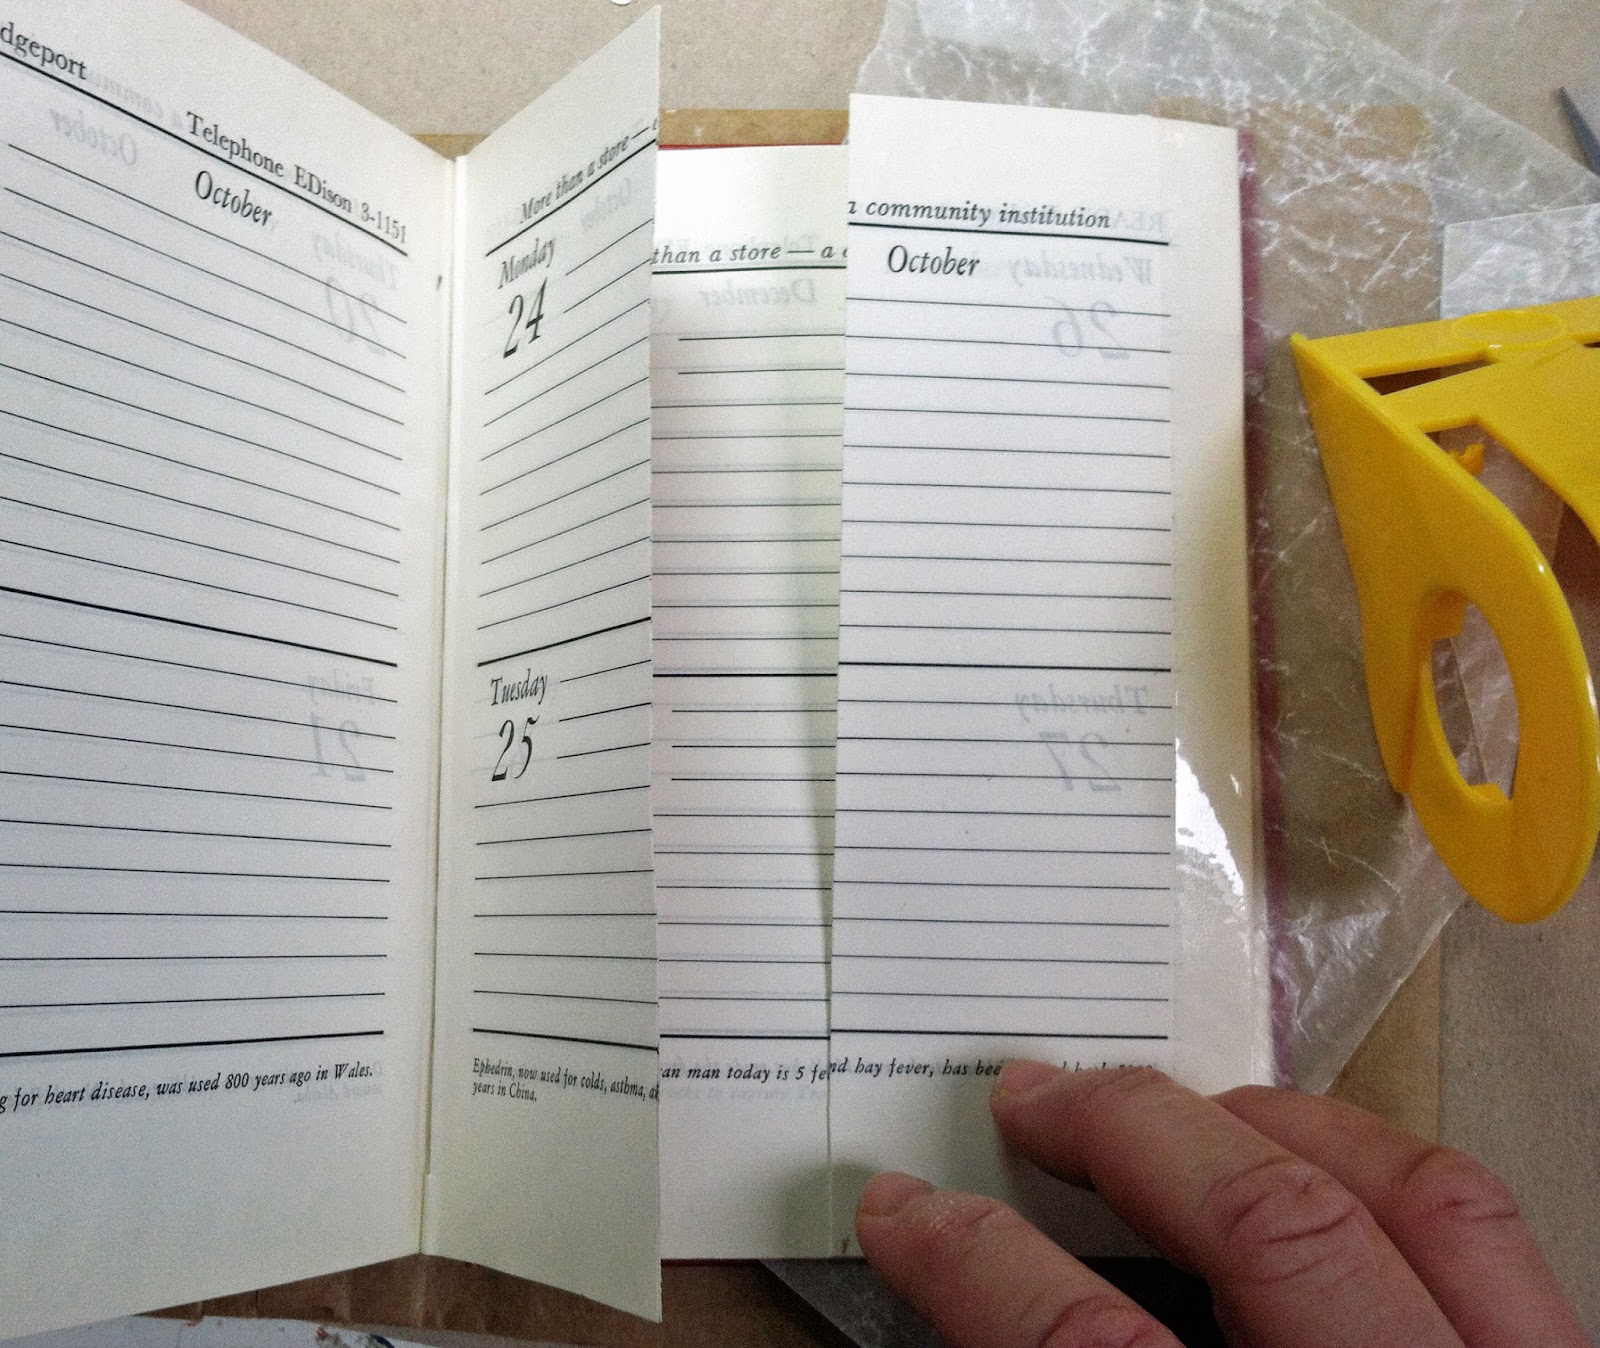
But, of course, nothing is as simple as that. I'm going to have to do some seam-reinforcing because the pages in my book are thin and fragile, and I don't like to induce anxiety in the people who are kind enough to wish to explore my work. At a show a few years back, with a gallery hung full to the brim with my collages, and just one of my altered books on a pedestal (added as an afterthought), I wound up stationing myself near that pedestal all night in order to encourage interested souls who were in moral crisis about the damage their page-turning might inflict. ("Go ahead, touch it! It's strong! You're supposed to touch it!") My books are a whole lot sturdier than they might appear, and it takes some time to get that across.
 
While my engineer hat is on, I'll also have to devise a way to keep the trifold, with the jittery girls inside, from springing apart into its component elements as soon as the book is opened. 
 
I have a small collection of washi tape and will go with that for reinforcement because it's lightweight, but since washi tape has a way of turning itself into a dominant element, I make this choice half-heartedly.
 
Here's my washi selection. "Small" is an understatement.


I pick the brown. Spoiler alert: Later on I will undo this and substitute the blue. I am working faster than I am blogging and at the time the brown looked okay so I went with it. It's all in the process of evolutionary design. Here's what the book looks like with the seams reinforced, and then I slapped some birds on top, as I am wont to do.


To keep everything together, I reach for baker's twine, pulling it through the eyelets that I had installed earlier. Later on I'll go snazzier, but for now, I just want structural integrity and a safe haven for my jittery girls.


The jittery girls being safely contained, I was free to do a little more work elsewhere in my book. I decided to construct a gate, the idea being to hide the little girl in the illustration below until the page was flipped. Making gates with curved edges is a bit of pain, so to guide my eye and hand I decided to make a wax paper template rather than going freehand.


And here is the gate as cut, which will provide a nice surface for collaging down the line, and add a nice "ahh" when the full picture underneath is revealed after turning the page.


And there you have installment 3. I hope you--whoever "you" are (I have only 74 followers but I average 100 page views a day, go figure)--are enjoying this series. There's more to come...don't get jittery on me, ya hear?

'Til next time.
---
To continue the journey, click the link for Part 4: http://lauratringaliholmes.blogspot.com/2013/04/dont-get-jittery-on-me-part-4-or-big.html

Friday, March 15, 2013

Under the Influence--An Homage to Katrien De Blauwer

The collage work of Katrien De Blauwer is deceptively simple. Sometimes it consists of nothing more than two images arranged on a piece or two of old paper. But the dynamism of De Blauwer's work is anything but simple because, somehow, she gets her images to talk to each other, right there on the paper, in a language that is universal. There's hope and despair, joy and fear. Innocence retained. Innocence lost. The conversations are sometimes brutally honest, and I find myself endlessly drawn into the relationships she portrays, feeling familiar things, but often new things, too. I'm not an art reviewer, nor am I a psychiatrist, but I've often thought that Katrien De Blauwer's special talent is her ability to speak to and for the collective unconscious of human emotions. What's more, the subjects in her collages almost always have an equal voice. This equality among players moves me beyond description.

It is also, at least for me, when I tried to work in her style, impossible to duplicate. Here is what I came up with when attempting to capture the spirit of her work.

Icarus, collage on playing card, Laura Tringali Holmes 2013

Although I like my collage well enough, in the end what I wound up building was a collision, not a conversation. I was simply not able to achieve what I set out to do, which was to create a dialog of equal voices such as so artfully constructed by Katrien De Blauwer. In my homage, my Icarus, very much alive, leaps to the sun from the bird's nest of straw that is the lady's hat. The lady might be dead or dying for all I know. That my Icarus will have his solar meltdown soon enough and plummet down to earth to join the lady on the ground is, in this case, immaterial. I was looking to construct a relationship where the participants were equally engaged, and this I could not do. I had to settle for a pun on Icarus' flight...of all the playing cards I could have chosen from my deck of Birds of America, note that I chose the one featuring the Bohemian Waxwing.

My hat is off to you, Katrien De Blauwer! I am moved and inspired by your work.

Please enjoy Katrien De Blauwer's work here:
http://www.katriendeblauwer.com/Home

Here are a few pieces from her gallery to whet your appetite.
 
From the Dress series, Katrien De Blauwer

 
From the Rendez-vouz series, Katrien De Blauwer
 
From the Feminin series, Katrien De Blauwer
From the Without series, Katrien De Blauwer
From the Inappropriate series, Katrien De Blauwer

Monday, March 11, 2013

Don't Get Jittery on Me--Part II, or "The Altered Bookmaking Saga Continues"

Structures! Creating a solid underpinning when prepping a book for alteration (described previously: http://lauratringaliholmes.blogspot.com/2013/03/dont-get-jittery-on-me-or-tale-of-re.html), lays the framework for the building in of a variety of mechanical embellishments both earnest and fanciful. With windows, doors, lift-ups, fold-outs, and other products of your imagination, the altered book can become a veritable gymnasium of interactive parts. If you wish it to be so. Of course your book can be much quieter. Structures are certainly not de rigueur. Your design intentions come first. I tend to use structures in book designs where I know it's going to be a priority to engage a viewer's sense of anticipation and wonder in a tactile as well as a visual way.

Pictured below is one of my favorite structures and one of the simplest. It's a porthole, ready for whatever image calls to be placed underneath. Here, because Spring is in the air, a cheerful catbird. In this case I have complemented the porthole with a scatter of smaller punched holes. Those holes may get covered up down the line, but for now I like the contrast against the whiteness of the old paper of the trail of darkness.


More about porthole construction later. For now, a window, which is just about as easy to make as it sounds. First you draw the outline of your window on your page. Then you hog out the waste.


In my window, there are a couple of complications in the hogging-out-the-waste part. First, because I want to sandwich an image in between, I am actually cutting two windows, through two book pages. Second, as explained in the previous installment, each new book page is glued up of two or three original book pages. Which equals thickness. Which would be fine if I owned a steel rule, but I do not. For me, it's red plastic all the way, and cutting against a plastic ruler with a sharp edge tool makes a seasick line no matter how steady your hand. I get around this by making an X in the center and cutting out to my pencil lines from here.


The result is a cool shape, and if I had worked more carefully, I might have been able to incorporte it into my book. I slipped a bird underneath to get an idea of future potential. Not going to work this time. But there's always a next time.


This is the completed window construction.


An image (for example, this transparency of a house), would go in between  the cut pages like so. The reason that I use this sandwich method is because the back of the window will now look as finished as the front. Of course you could also use a single window and then deal with the edges of the image on the back side. I find those edges intrusive and so these days I most usually go with the sandwich method.


Which brings me to the trifold. Oh, I love the trifold! It gives you a third more space upon which to collage. It's also an excellent use of paper. Remember those spreads so carefully removed in the previous phase? Some of that paper was interesting and here is a way to get it back into the book by gluing the right page of one spread onto the left page of the other. Nothing could be more straightforward.


The seam on the left will have to be reinforced, of course, but that will happen later. This is how the trifold looks when it is glued in place. Imagine the far left page folding down, and you will see that you have also created the possibility for lift-up interaction. Nice.


Onward to flaps. I have a decent vintage postcard collection and its denizens tend to clamor to be included in my altered books. They can do so as flaps that hinge either from the side or from the top. The mechanism in both is the same--both are glued in place with a strip of clear packing tape. If the flap hinges from the side, however, it is called a "tip-in," for those who are, as I am, into the naming of things. I tried out the postcard shown below as a tip-in, but it didn't jive with my vision of where this book was going, so I decided to go for a lift-up flap instead.


In addition to my everyday postcard collection, I am fortunate to possess four BOXES (yes! boxes!) of nature flashcards published by the National Audubon Society in 1970. The catbird below comes from the "50 Winter Birds" card pack.


By attaching my bird card to the top edge of the book with a strip of packing tape, I have easily created a lift-up flap.


To create the porthole through which to see the catbird, I returned to the previous page and punched out a hole with a round craft punch. When doing such work, I have found it imperative to measure twice and cut once. When a cut is complete, it's done, and although you could shift the alignment, for example, of this lift-up flap, messing around with a packing-tape hinge is never kind to the paper underneath.


For good measure, I then proceeded to add a scatter of smaller holes on the page, which you can see if you scroll back up to the picture at the very top. You can see, on the left page of the spread shown below, what the porthole looks like from the back. And then, just because I could, I punched out another porthole under the flap. I slipped the Madonna postcard underneath the porthole for a quick visual and realized immediately that I would rue the impulse that drove me to succumb to the Urge To Make More Holes.


Here is why. What you're seeing through the porthole is the back of the catbird card. Punching in that second hole left me with an awkward thing happening on the left edge between the catbird card and the porthole. I can tell that finding integrity here is going to make me crazy.


The last structure I've added today is a fold-out door. Again, it's nothing tricky. The long description is "you cut a page in half." The short description is "you cut a page in half." I used a small paper cutter for this because I wanted a sharp, defined line.


After you've cut the page in two, attach the unattached piece to the outer edge of the following page with packing tape. And, presto, you have a door.


Next up: Finding a home for the pages I wanted to save from my poor bombed Barcelona book. I realize that not everybody is lucky enough to have a bombed Barcelona book lurking about, but the kind of incorporations I'll be doing will illustrate a good way to add a second structural round to your altered book when your design demands it.

Looking forward to seeing you next time, and if you are following along and making books, I'd appreciate a look. I'll even figure out a gallery....

'Till then.
----
Following along in sequence? Enjoy Part 3 of the saga here: http://lauratringaliholmes.blogspot.com/2013/03/dont-get-jittery-on-me-part-3-or-im.html


Thursday, March 7, 2013

Don't Get Jittery on Me, or "The Tale of a Re-Altered Altered Book"

I started an altered book in October of 2011, after being profoundly moved by a visit to an exhibition of Joan MirĂ³'s work while traveling in Barcelona. My book bombed, mostly because I was on the road, but also because of poor prep. A few days ago, while cannibalizing materials for further artmaking from the Pile of Perpetual Embarrassments that exists in my loft, I stumbled upon the Barcelona book and eventually decided to rip it up and use some of the pieces in a new altered book.


The page above is one of the pieces I wanted to save. The little bit of text next to the lady's head says "Don't get jittery on me." If it weren't for this page, I think I might have chucked the Barcelona book without missing a beat. But that message? It meant something to me when I made the page in 2011 and it means something to me now. What choice did I have but to take my own advice and to soldier on in the creation of a new book?

Here are some of the other pages that I ripped from the Barcelona book for possible repurposing.


Since poor prepwork was one of the reasons the Barcelona book found itself in the Embarrassments Pile, I decided to be a little more methodical this time around and to document my process of work. For anybody who is interested in altering a book, I offer this journey as a sort of cautionary tale.

This is my new book...well, new as of 1955. It's a charming organizer that was probably used for promotional purposes by a department store headquartered in Bridgeport, CT. You'll notice that my book is protected by a cover made from a brown paper bag. It is important to protect your book. If you don't, it will get grubby. Enough said.


The first thing I do when altering a book is to remove some of the pages from each signature to create room within the binding for the new material that I'll be adding. If you look at my book, below, you will see that the pages are organized into seven clumps. Each of those clumps is called a signature.


Each signature has a centerline where the binding string is visible and it's at that string where my page-removal process begins. I have circled the string in the photo below.


When I start at the center of a signature, it becomes an easy matter to lift off book pages two at a time--in spreads--leaving a minimum of ripped paper fragments behind. My right hand was on the camera button to take this picture, but in reality it's working right alongside my left hand to slide the paper out of the binding. Note that I'm using my thumbs to lift the paper around and off the string. I am not sawing against the string, which could stretch and ultimately weaken the binding. 


This is what you don't want. Every scrap of paper left behind will cause another scrap of paper to be left behind which will cause yet another scrap of paper to be left behind as you attempt to lift off subsequent spreads. Of course there will always be a scrap or two remaining here or there, but you can invite it out with the tip of an Xacto or your scissors.


Because I got into a nice groove, I was able to remove quite a few spreads from my book while generating only a few paper scraps. The photo below shows the proportions for those who are scientifically inclined. The pile of paper on the right consists of removed pages that I might want to incorporate back into the book--cool things like some 1950s astrology and neato advertisements. There was also a Christmas Card List.


And here's the binding as it looks when I'm done removing pages. I have created plenty of room to allow myself the freedom to add whatever I want to my book without stressing the binding.


Now to do a little more prepwork to protect my book's paper, which is thin and somewhat fragile. Because I'll be asking that paper to handle glue either from a glue stick or gel, collage elements, and even possibly some mixed media (and probably some interactive elements as well), I'll need to create new strong pages by gluing several original fragile pages together. 

If you think of the collage elements that I'll be adding as ceramic tiles, think of this work as creating a flat and stable plywood underlayment. Therefore, glue together only pages that seem to want to be together. Try to find pages that naturally align at the edges. This search for compatible papers is less mystical than it sounds when you have a book open before you and the paper is under your hands.

In this book, I glued up two and three layers of paper for each new page, using sheets of wax paper in between to prevent accidental stick-downs. For the flattest pages, burnish the papers together hard after gluing.


Here's the book all glued up.


And here it is weighted down for the night.


Next up: I'll be working on more prepping of my altered book, but structural work this time. Maybe I'll cut some windows, construct a fold-out door, install a lift-up flap....

You can see the next step in the process here: http://lauratringaliholmes.blogspot.com/2013/03/dont-get-jittery-on-me-part-ii-or.html


Related Posts Plugin for WordPress, Blogger...