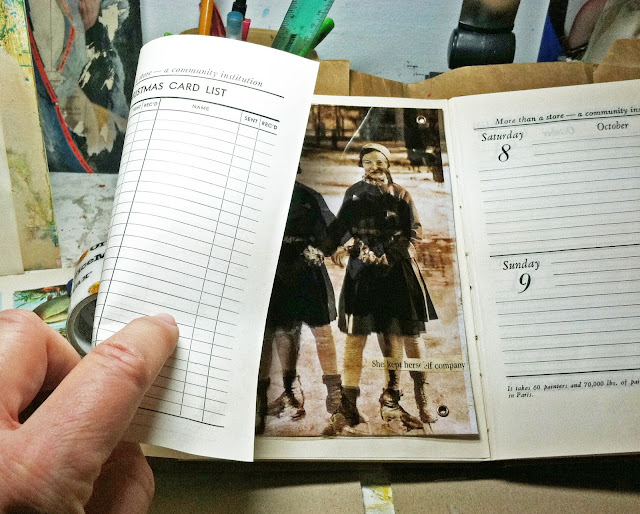
If you've been following along, you know that I'm cannibalizing an old bust of an altered book to feed this new one. This assemblage is from that book. It has meaning for me, and so I have saved it. But now...where to put it? There is much to be said for preparation, and it just so happens that when I prepped my book I created a trifold. This is a perfect spot for my jittery girls. It will keep them from leaping out of the book on impulse. I snuggle them right in there.
And then I close the door. Preparation, preparation, preparation.
But, of course, nothing is as simple as that. I'm going to have to do some
seam-reinforcing because the pages in my book are thin and
fragile, and I don't like to induce anxiety in the people who are kind enough to wish to explore my work. At a show a few years back, with a gallery hung full to the brim with my collages, and just one of my altered books on a pedestal (added as an afterthought), I wound up stationing myself near that pedestal all night in order to encourage interested souls who were in moral crisis about the damage their page-turning might inflict. ("Go ahead, touch it! It's strong! You're supposed to touch it!") My books are a whole lot sturdier than they might appear, and it takes some time to get that across.
While my engineer hat is on, I'll also have to devise a way to keep the trifold, with the jittery girls inside, from springing apart into its component elements as soon as the book is opened.
I have a small collection of washi tape and will go with that for reinforcement because it's lightweight, but since washi tape has a way of turning itself into a dominant element, I make this choice half-heartedly.
Here's my washi selection. "Small" is an understatement.
I pick the brown. Spoiler alert: Later
on I will undo this and substitute the blue. I am working faster than I am blogging and at the time the brown looked okay so I went with it. It's all in the process of evolutionary design. Here's what the book looks like with the seams reinforced, and then I slapped some birds on top, as I am wont to do.
To keep everything together, I reach for baker's twine, pulling it through the eyelets that I had installed
earlier. Later on I'll go snazzier, but for now, I just want structural integrity and a safe haven for my jittery girls.
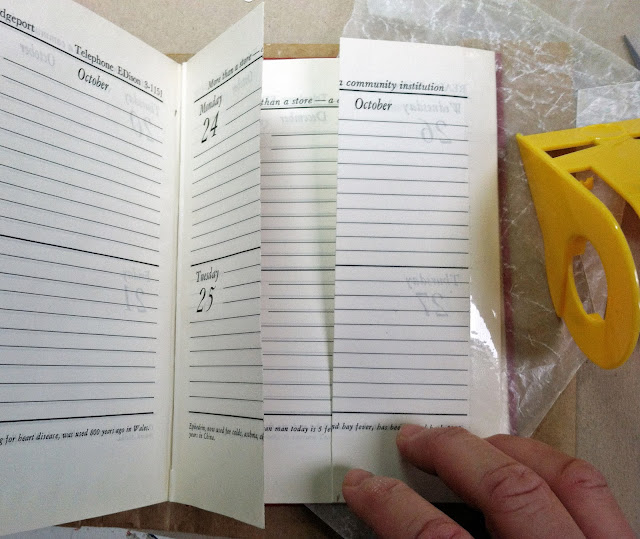
The jittery girls being safely contained, I was free to do a little more work elsewhere in my book. I decided to construct a gate, the idea being to hide the little girl in the illustration below until the page was flipped. Making gates with curved edges is a bit of pain, so to guide my eye and hand I decided to make a wax paper template rather than going freehand.
And here is the gate as cut, which will provide a nice surface for collaging down the line, and add a nice "ahh" when the full picture underneath is revealed after turning the page.
And there you have installment 3. I hope you--whoever "you" are (I have only 74 followers but I average 100 page views a day, go figure)--are enjoying this series. There's more to come...don't get jittery on me, ya hear?
'Til next time.
---
To continue the journey, click the link for Part 4: http://lauratringaliholmes.blogspot.com/2013/04/dont-get-jittery-on-me-part-4-or-big.html


